Easy Mini Cinnamon Rolls: Your Step-by-Step Baking Guide
There's something truly magical about the aroma of freshly baked cinnamon rolls wafting through your home. That warm, sweet, and spicy scent instantly evokes comfort and happiness. But sometimes, the thought of making a full batch can feel daunting, or a giant roll might just be too much for a casual craving. Enter the glorious mini cinnamon rolls! These bite-sized marvels offer all the flavor and joy of their larger counterparts but in a perfectly portioned, incredibly adorable package. They’re quicker to bake, easier to share, and undeniably charming.
If you’ve ever hesitated to tackle homemade cinnamon rolls, this comprehensive guide is designed for you. We’re going to demystify the process, breaking down each step to ensure your journey to baking these Mini Cinnamon Rolls: Your New Favorite Bite-Sized Treat is as enjoyable as eating them. Get ready to create irresistibly soft, gooey, and utterly delicious treats that will impress everyone, including yourself!
Why Mini Cinnamon Rolls? The Perfect Bite-Sized Indulgence
Beyond their undeniable cuteness factor, mini cinnamon rolls offer a host of advantages that make them a superior choice for many occasions. They're not just smaller; they're smarter.
The Appeal of Smaller Portions
One of the biggest draws of mini rolls is their portion control. A regular cinnamon roll can be quite large and calorie-dense, often leaving you feeling overly full. Mini versions, however, allow you to indulge without guilt. They're perfect for a quick breakfast bite, an afternoon pick-me-up, or a light dessert. You can enjoy one, two, or even three without feeling like you've overdone it, making them an ideal treat for balancing indulgence and mindfulness.
Perfect for Any Occasion
Their versatility is another major selling point. Easy mini cinnamon rolls are fantastic for:
- Breakfast or Brunch: A delightful addition to any breakfast spread, providing a sweet option without being overwhelming.
- Party Platters: Easy for guests to grab and enjoy, making them a hit at potlucks, birthdays, and holiday gatherings.
- Snack Time: A perfect companion for your coffee or tea break.
- Kids' Treats: The smaller size is ideal for little hands, and they're always a crowd-pleaser with children.
- Homemade Gifts: Packaged in a lovely box, a batch of homemade mini cinnamon rolls makes for a thoughtful and delicious gift.
Gathering Your Arsenal: Ingredients for Easy Mini Cinnamon Rolls
Before we dive into the dough, let’s ensure you have all your ingredients ready. High-quality ingredients are the foundation of truly exceptional mini cinnamon rolls. Don't worry, most of these are pantry staples!
For the Dough (yields approximately 24-30 mini rolls)
- 1 cup (240ml) warm milk: Around 105-115°F (40-46°C). This is crucial for activating the yeast.
- 2 ¼ teaspoons (1 standard packet) active dry yeast: Make sure it’s fresh!
- ¼ cup (50g) granulated sugar: Feeds the yeast and adds sweetness to the dough.
- 1 large egg: Room temperature, for richness and binding.
- ¼ cup (56g) unsalted butter, melted: Adds tenderness and flavor.
- ½ teaspoon salt: Balances the sweetness and enhances flavor.
- 3 to 3 ½ cups (360-420g) all-purpose flour: Start with 3 cups and add more if needed for a soft, manageable dough.
For the Filling
- ½ cup (113g) unsalted butter, softened: Essential for spreading evenly.
- ¾ cup (150g) packed light brown sugar: Provides moisture and a deeper caramel-like flavor.
- 2 tablespoons ground cinnamon: The star of the show! For intense cinnamon flavor.
For the Glaze
- 1 cup (120g) powdered sugar (confectioners' sugar): Sifted, to avoid lumps.
- 2 tablespoons milk (or cream): For a smooth, pourable consistency.
- ½ teaspoon vanilla extract: Enhances the sweetness and adds aroma.
Your Step-by-Step Journey to Baking Bliss
This is where the magic happens! Follow these detailed steps to create your own batch of delightful easy mini cinnamon rolls.
Preparing the Dough
- Activate the Yeast: In a large bowl or the bowl of a stand mixer, combine the warm milk, yeast, and granulated sugar. Stir gently and let it sit for 5-10 minutes until foamy. This indicates the yeast is active and ready to work!
- Add Wet Ingredients: To the foamy yeast mixture, add the egg, melted butter, and salt. Mix until well combined.
- Incorporate Flour: Gradually add the flour, 1 cup at a time, mixing with a spoon or a dough hook on low speed. Once the dough comes together, continue to knead for 5-7 minutes until it's smooth, elastic, and no longer sticky. If it's too sticky, add a little more flour, one tablespoon at a time. The dough should be soft but pull away from the sides of the bowl. For tips on achieving the perfect texture, you might find our article on Secrets to Perfectly Fluffy Mini Cinnamon Rolls very helpful.
- First Rise: Lightly grease a clean bowl with oil. Place the dough in the bowl, turning it once to coat. Cover the bowl with plastic wrap or a clean kitchen towel and let it rise in a warm place for 1-1.5 hours, or until doubled in size.
Crafting the Cinnamon Swirl
- Prepare Work Surface: Once the dough has doubled, gently punch it down to release the air. Turn it out onto a lightly floured surface.
- Roll the Dough: Using a rolling pin, roll the dough into a large rectangle, approximately 18x12 inches (45x30 cm). Aim for an even thickness.
- Spread the Filling: In a small bowl, combine the softened butter, brown sugar, and ground cinnamon until well mixed. Evenly spread this mixture over the entire surface of the rolled-out dough, leaving a small ½-inch border along one of the long edges.
- Roll and Slice: Starting from the long edge opposite the clean border, carefully and tightly roll the dough into a log. Once rolled, pinch the seam closed to seal. Using a sharp knife or unflavored dental floss, cut the log into 1-inch thick slices. You should get approximately 24-30 mini cinnamon rolls.
Baking to Golden Perfection
- Prepare Baking Dish: Lightly grease a 9x13 inch baking dish (or two smaller dishes, depending on your roll count).
- Arrange Rolls: Place the sliced rolls into the prepared baking dish, leaving a small space between each roll to allow for a second rise.
- Second Rise: Cover the dish with plastic wrap or a clean towel and let the rolls rise in a warm place for another 30-45 minutes, or until puffy and almost doubled in size again.
- Preheat Oven: While the rolls are rising for the second time, preheat your oven to 375°F (190°C).
- Bake: Bake the mini cinnamon rolls for 15-20 minutes, or until they are golden brown on top and cooked through. Keep an eye on them to prevent overbrowning. The baking time for mini rolls is significantly less than standard rolls, so be attentive!
- Cool Slightly: Once baked, remove the rolls from the oven and let them cool in the pan for about 5-10 minutes while you prepare the glaze.
The Finishing Touch: Glazing
- Mix Glaze: In a small bowl, whisk together the powdered sugar, milk (or cream), and vanilla extract until smooth and free of lumps. Add more milk, ½ teaspoon at a time, if you desire a thinner glaze.
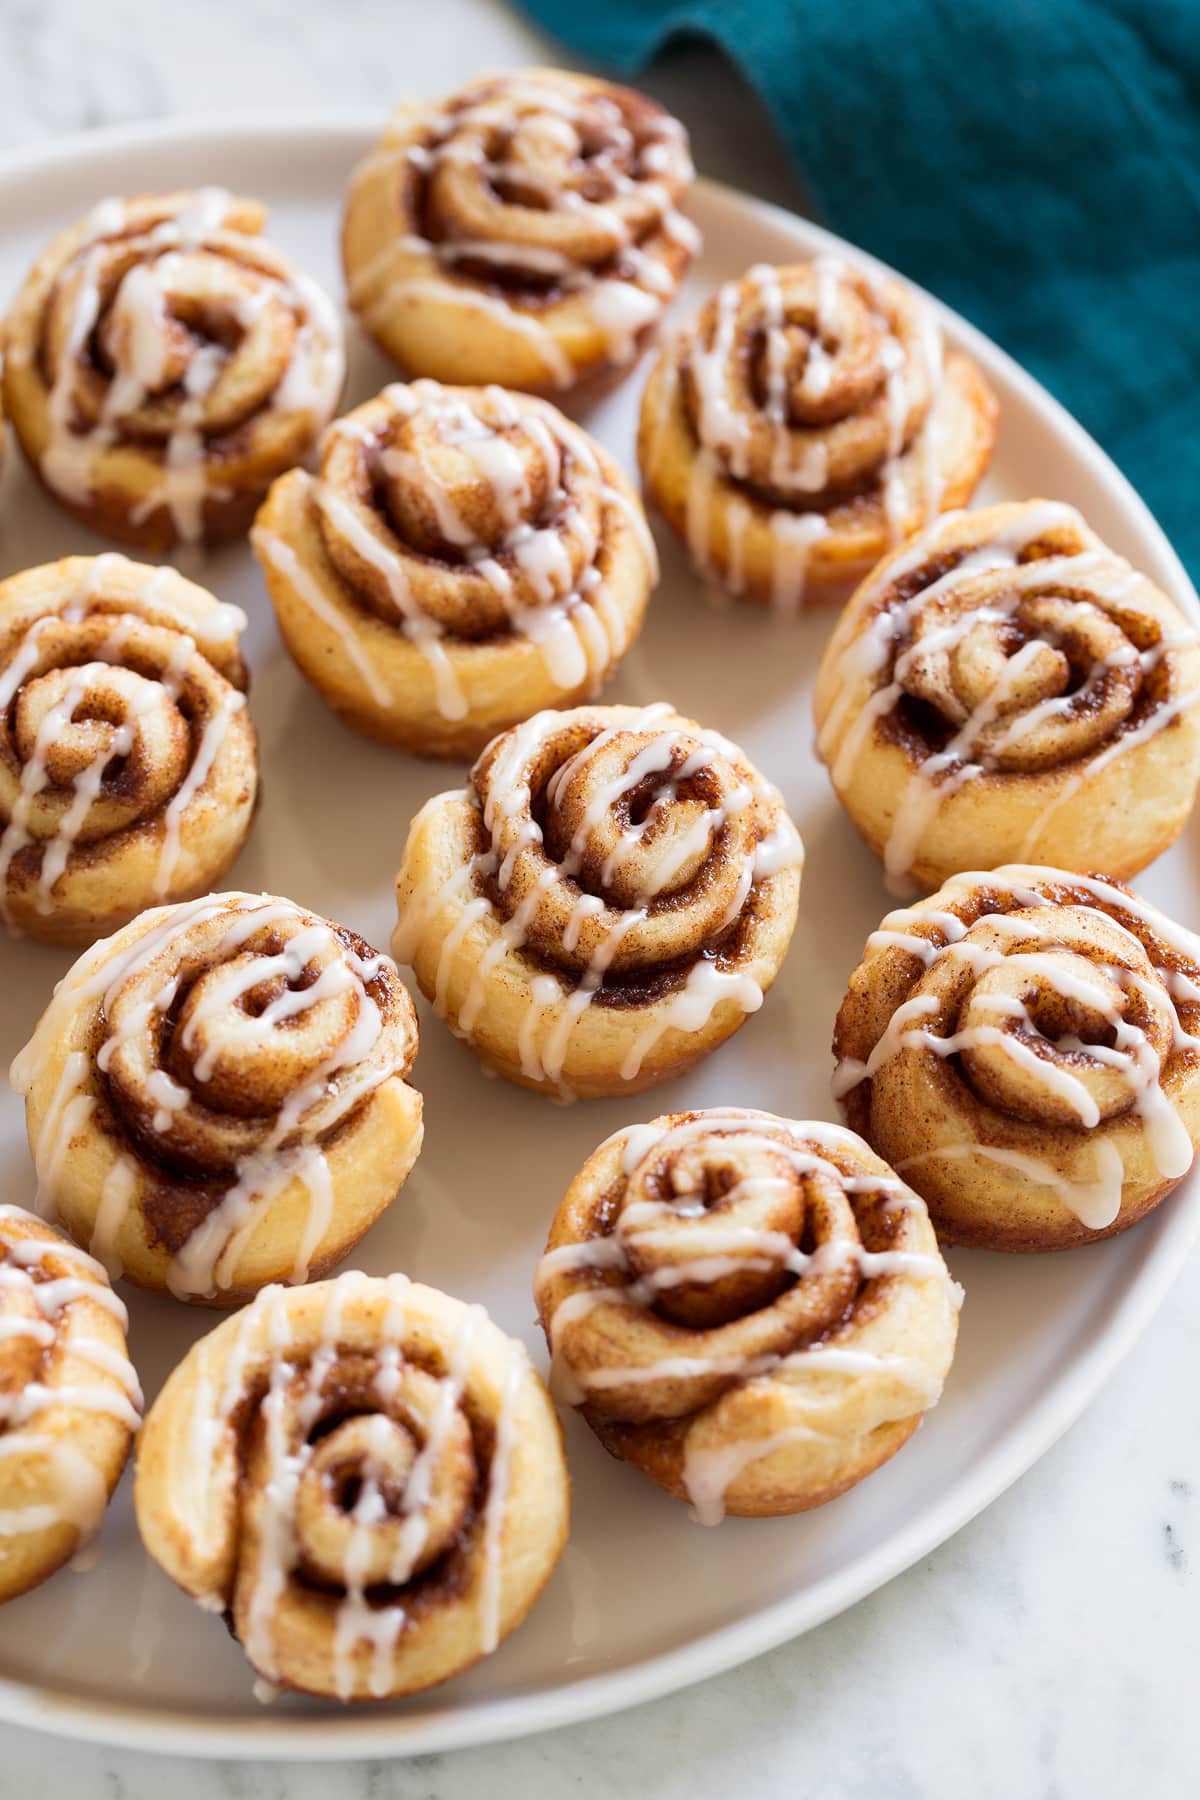
- Glaze the Rolls: While the rolls are still warm (but not hot), drizzle or spread the glaze evenly over the top. The warmth of the rolls will help the glaze melt slightly and seep into the nooks and crannies, creating that irresistible gooey texture.
Tips for Mini Cinnamon Roll Mastery
Achieving bakery-quality mini cinnamon rolls at home is entirely possible with a few insider tips and tricks.
Pro Tips for a Flawless Batch
- Don't Rush the Rise: Patience is key, especially during the rising times. A slow, steady rise yields a more flavorful and tender dough. If your kitchen is cool, try placing the dough in a slightly warm (but not hot!) oven that's been turned off, or in a microwave with a cup of hot water.
- Measure Flour Correctly: Too much flour will result in dry, tough rolls. Use the spoon-and-level method: spoon flour into your measuring cup, then level it off with a straight edge.
- Soften Butter Properly: For the filling, make sure your butter is truly softened, not melted. It should be pliable but not greasy, allowing it to spread easily without soaking into the dough.
- Use Dental Floss for Cutting: For perfectly clean cuts without squishing your rolls, slide a piece of unflavored dental floss under the log, cross the ends over the top, and pull to slice through. This creates beautifully round rolls.
- Don't Overbake: Overbaking is the enemy of soft, gooey rolls. Keep an eye on them, and pull them out as soon as they're golden brown. They'll continue to cook slightly from residual heat.
Storing and Reheating Your Treats
These easy mini cinnamon rolls are best enjoyed fresh, but they also store well:
- Room Temperature: Store in an airtight container for up to 2-3 days.
- Refrigerator: For longer storage (up to a week), place in an airtight container in the fridge.
- Freezer (Baked): Once completely cooled and glazed (or unglazed), freeze rolls in a single layer on a baking sheet until solid. Transfer to a freezer-safe bag or container for up to 2-3 months.
- Reheating: Pop individual rolls into the microwave for 15-30 seconds, or wrap in foil and warm in an oven at 300°F (150°C) for 10-15 minutes until warm and soft.
Creative Variations to Explore
Once you've mastered the classic mini cinnamon rolls, feel free to experiment!
- Nutty Twist: Add finely chopped pecans or walnuts to the cinnamon filling for extra crunch and flavor.
- Orange Zest: Incorporate some orange zest into the dough or the glaze for a bright, citrusy note.
- Cream Cheese Glaze: For a richer, tangier topping, swap the simple glaze for a cream cheese frosting (softened cream cheese, butter, powdered sugar, vanilla, and a splash of milk).
- Pumpkin Spice: During autumn, add a pinch of pumpkin pie spice to your cinnamon filling for a seasonal treat.
Conclusion
Baking homemade easy mini cinnamon rolls is a rewarding experience that fills your home with incredible aromas and your belly with pure comfort. By following this detailed, step-by-step guide, you've unlocked the secret to creating perfectly soft, gooey, and utterly delicious bite-sized treats. Whether you're a seasoned baker or just starting your culinary adventures, these mini rolls prove that big flavor can come in small packages. Don't hesitate – gather your ingredients, set aside some time, and embark on this delightful baking journey. Your taste buds (and anyone you share them with!) will thank you.
